This is a generic blog article you can use for adding blog content / subjects on your website. Edit your Blog articles from the Pages tab by clicking the edit button.
Creating an iOS distribution certificate is an essential step for distributing your app to the App Store. Here are the steps to create an iOS distribution certificate:
- Log in to your Apple Developer account at developer.apple.com/account.
- Click on the "Certificates, IDs & Profiles" tab.
- Under the "Certificates" section, click on the "+" button.
- Select "App Store and Ad Hoc" as the certificate type and click on "Continue".
- Choose the App ID for which you want to create the certificate and click on "Continue".
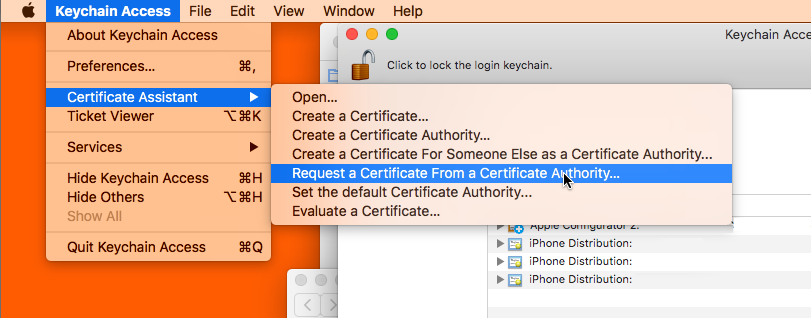
- Follow the prompts to generate a certificate signing request (CSR) using Keychain Access on your Mac.
- Upload the CSR file to the Apple Developer website and click on "Continue".
- Download the distribution certificate to your Mac.
- Double-click on the downloaded file to install the certificate in Keychain Access.
- Export the certificate as a .p12 file by selecting the certificate and the private key associated with it, right-clicking, and choosing "Export".
- Enter a password to protect the .p12 file, and save it to a safe location on your Mac.
Congratulations, you have now created an iOS distribution certificate! This certificate will allow you to sign and distribute your app on the App Store.